
Good time management skills are things most people strive to achieve. They’re constantly looking for tools or strategies that can help them with this goal.
Often, they will purchase readymade checklists that promise to walk them through a certain task. This is where you come in. I’m going to walk through how to create a checklist with one of my Canva Template Toolkits that will let you tailor them to your business, brand, and niche.
Now is a great way to learn how to create them yourself. That way, you have a highly personalized sheet that can identify specific tasks you think or know that you’re audience is likely to forget or skip, and make sure you move them through a project from start to finish with ease.
Below, you will see some tips on how you can create the most effective checklists for your particular business with Canva Templates. You can tweak or tailor them for different niche markets or business models that you are working in.
Create a Checklist as You Go Through the Process Once in Full
A checklist is something that can easily be created, but you want to make sure that it’s done right from the beginning. If your audience has tasks in their business or personal life that are repetitive, whether it’s a daily task or something you do a couple of times each year, you can create a checklist to help them move through the process quickly and easily.

The best way that I make sure to include everything that I want on a checklist is to write down the tasks as I am going through the process once (at least) from start to finish. I’ve found that if I sit down to write out the tasks I will often forget all of the steps. So it is just easier to walk through the tasks and write them down as I go.
The best way to do this is to get as detailed as you can with each task. When you go to make your official checklist, you can tighten up the tasks into something more manageable that will help people but will not let them get overwhelmed.
Whenever I create a task list I normally start a text document and write each task as I go. You can use a text document, a piece of, Word document, or whatever works for you personally.
For example, if I was going to create a checklist for people to use Canva.
Here is what it might look like:
- Write down all the steps to the process
- Change colors to match brand
- Change fonts to what you use
- Change images/elements inside the template
- Write down to-dos in the write section
- Create main headings
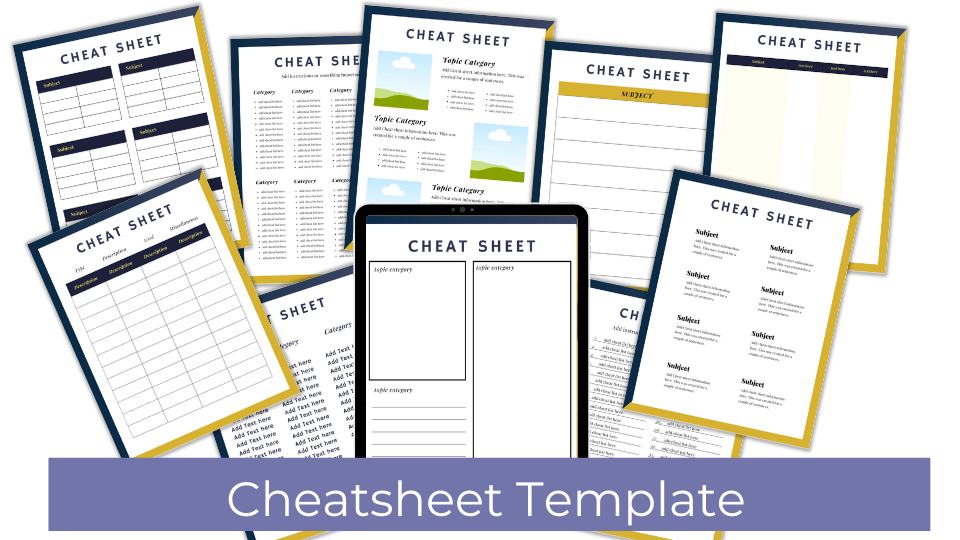
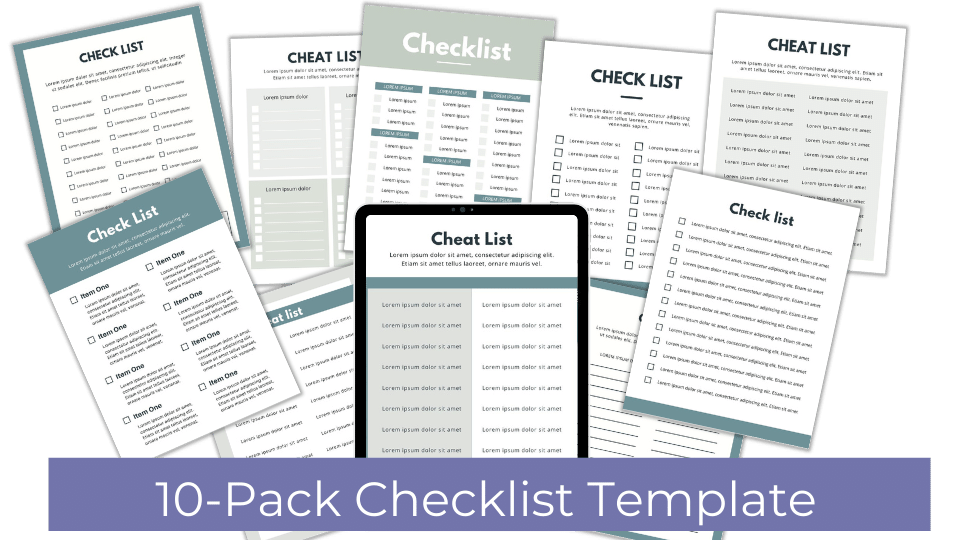
Once you have the tasks you’re going to transfer those onto the Canva Checklist Template. What I love about using templates is that you don’t have to start from scratch and they’re visually appealing without the stress to come up with the design.
You’ll want to personalize the templates with your branding colors, as well as images that work with your vision.
When you use Canva Templates you’ll notice that there are a lot of different varieties, so make sure you pick one that fits your needs. This could include bullet points, checkmark boxes, or tables.
As you can see checklists come in many styles.
Keep the Main Task Short with Mini Tasks Below
When you go to create your checklist on the Canva Template you’re going to want to make sure that you have a few main categories from the to-do list, then underneath you’ll have the tasks.
Take a look at what I’d do with my checklist:
Pre-Launch Checklist
- Write down all the steps to the process
Change Canva Templates
- Change colors to match brand
- Change fonts to what you use
- Change images / elements inside the template
Create the Checklist
- Create main headings
- Write down to-dos in the write section
So as you see this checklist would have 3 main sections with tasks underneath each one.
The final version, you want to have the main tasks that you will be checking off short and to the point. The item that you are checking off should never be a paragraph or page worth of information.
If you do have many different tasks that fall under the umbrella of a main one, you can always indent each of those steps under a main task so that you have the mini task list you can check off as well.
Try to come up with succinct language that will remind you of what needs to be done, without having to go into detail about why and how. If you need all of that information included, you might want to create something known as a standard operating procedure guide that is a little more in depth than a checklist would be.
Decide Whether to Group Your Tasks or Let Them Unfold in Chronological Order

Make a decision about whether or not you want to group your tasks according to a type of task or have it unfold in chronological order. For example, if you are going to create a checklist that will help you with your product launches, you could have a checklist that goes either way.
With chronological order, you will be doing each step on your checklist in the order that you actually want to do it. So you might have one item initially for brainstorming, followed by another item for setting up a listing, followed by another item for your sales letter or JV page.
Whatever order you traditionally like to go through the process, that will be a chronological option. Some people prefer to have their checklist unfold this way so that they know what to do in exactly the right order.
However, you also have the other option of grouping your tasks together. So you might have one group all about your sales page. The tasks for that group might include ordering the graphics, gathering your testimonials, creating a demo or screenshots for your product, testing the sales page button, etc.
You might have another task group for affiliate recruitment. This might include the creation of your JV (joint venture) page, listing it on platforms like Muncheye so that affiliates can find it, emailing your list of affiliates, networking with certain individuals to bring them on board, and so on.
Some people prefer this option because they can tell at a glance if one complete portion of their project has been completed. There is a third option, which just requires a little bit more work in setting up your checklist.
You could also create a chronological checklist, but have it color-coded so that each of your tasks stands out as belonging to a specific group. For example, you might have your affiliate tasks written in purple, your sales letter tasks written in green, etc.
Be Specific with Numbers and Directions
Whenever you are creating your checklist, you need to avoid any vague language that can set your audience up for failure to finish the process or it can confuse them what the’re supposed to do next. For example, if you were to use the word some on your checklist, that might be three or it might be 300. Make sure you say what you mean.
So you wouldn’t want to say, ”Recruit some affiliates.” Instead, have a specific number in mind that you want to use as a goal in your checklist. You might say instead, something like, “Recruit a minimum of 10 affiliates.”
This goes for anything you are doing, such as the number of testimonials you want to gather, the number of pages you want to write each day, the number of hours you want to put into a project, etc.
Or it could be to do 15 minutes of walking, 10 burpees each day, drink 16 ounces of water, or whatever you’re going to create a checklist for.
Also, remember that you need to be just as specific with the directions that you are using on your checklist. It doesn’t mean you have to be lengthy with your description, but be precise with your language on what you want people to do or accomplish.
Use Actionable Language
In addition to being specific, you want to be actionable with your wording. For example, you wouldn’t want to simply say something like, “Work on outsourcing” or “Work on being healthy.”
You don’t want to do that because in the first example working on this task could mean anything from figuring out your budget to sourcing freelancers to work with to developing project listings that you want to upload, and so on.
With the second example, it could mean figuring out yoga poses, stretching, eating healthy, and so much more.
If you are generic with your language, such as saying, “read history to your children,” (this would be for a homeschooling niche) it can cause you to delay with their progress because they wouldn’t know what time in history or what to read. When someone is looking at a checklist with vague wording it doesn’t really give them an action to do. People like specifics.
Instead, say something like, “Find a living history book during the 1800’s and read the first chapter to your children” this is a very specific action step that tells you what you will be doing that day.
OPTIONAL: Give Yourself a Timeframe for Each Item
This next idea would depend on what type of checklist you’re creating for your niche. If you feel like a timeframe works well then make sure to add a space to include a due date or a timeframe that includes the amount of time each task should take them.
To do this when you go through that initial process make a note of how much time each small task takes you and then I would add some time to it because you know how to do it and the person who is getting a checklist for the first time will take longer. This could be two or three times what it takes you if you’re familiar with the task.
You might want to be very careful adding amounts of time for each tasks because if someone doesn’t get the task done in the allocated time they might get discouraged.
Update Your Checklist When Needed
Keep in mind that just because you have created a checklist based on a process that you are used to doing, it doesn’t mean that you can’t ever deviate from that checklist when and if it’s needed. Make sure that you let people know who purchase or download their checklist. It is best for them to take the checklist and make it their own.
Sometimes, something will arise that requires you to change your system a bit – this is when you need to go in and update the checklist and then send out an email to those who purchased it so that they can download the new one.
Create Printables Checklists For Your Audience To Be More Productive
Using checklists in your life and business helps your audience manage their time better, but it also makes everything more organized and efficient. They’ll reduce their stress level and be able to manage all of the steps with ease when using a checklist that is tailored to their task.
Canva Checklist Templates are wonderful to use so that you don’t have to start from scratch. But they should always be edited to match your branding so that your audience knows that it comes from you. By learning to use the checklist templates, you’ll save time and you’re able to get more done.
~April
P.S. If you’d like to learn more about how to create printables with Canva Templates read this blog post.